Migrating PC-Pro+ to a new machine
A common question we receive in our support department is “How do I migrate my PC-Pro+ data to a new machine?”. Thankfully Itron has designed a couple of different options for moving your data from one machine to another. Each option varies in complexity and determines what data is migrated.
Before beginning: Choose a migration path
You can choose to migrate everything, programs only, or you can perform a selective migration. Determining which option to use depends on the desired result. This article will cover how to migrate everything. A complete migration like this will make an exact duplicate of the existing PC-Pro+ system that can be moved over to the new system.
Option 1 – Migrate everything with a replica file
Replica files allow for a complete backup of the PC-Pro+ installation. Replica files are also commonly used by tech support reps to simulate customer environment as closely as possible. Replica files will make an exact duplicate of all programs, users, passwords and any other related settings in the system.
Tip: The manager user has correct level of access needed for this process. PC-Pro+ will need to be installed on the new machine and the version installed will need to match the version installed on the computer being backed up.
Items needed:
– Admin access to PC-Pro+, specifically the System Manager- Thumb-drive
– Network share or other method of transferring files to the new machine.
Part 1 – back up old system by creating a replica file
Creating a replica file is done from within the System Manager. Navigate to Start –> Programs (or All Programs) –> PC-Pro+ Advanced –> System Manager. Login using the manager user (or another user that has admin credentials to the PC-Pro+ system).
Once logged in click “Create Replica File”.

When prompted, choose a location to save the replica file to.

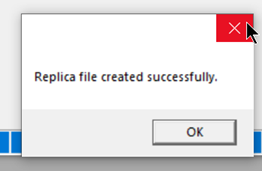
Click “Save”. If all goes well the following prompt will be displayed:

Part 2 – restoring replica file to new machine
Loading the replica file
Once the replica file has been created it will need to be transferred to the new machine, then its contents need to be loaded. If the file was saved to a thumb drive, plug it into the new computer and navigate to it. Otherwise, you’ll need to navigate to the network location where you saved the file.
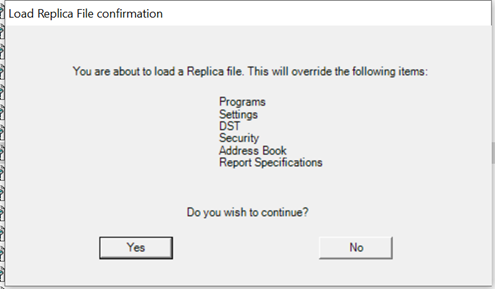
Double click on the replica file to start the restoration process. A prompt to confirm loading of replica file contents will appear.

Click yes to import the replica file into the system

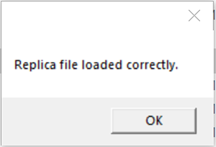
Once the import has been completed, a status message will be displayed.

Click Ok to close the window. Replica file import is complete, and your data has been migrated to the new system. You can open Data Manager to confirm.
Option 2 – Selective Backup

