Import route into FCS
Importing a route into FCS is the first step taken after billing data has been exported from the CIS system.
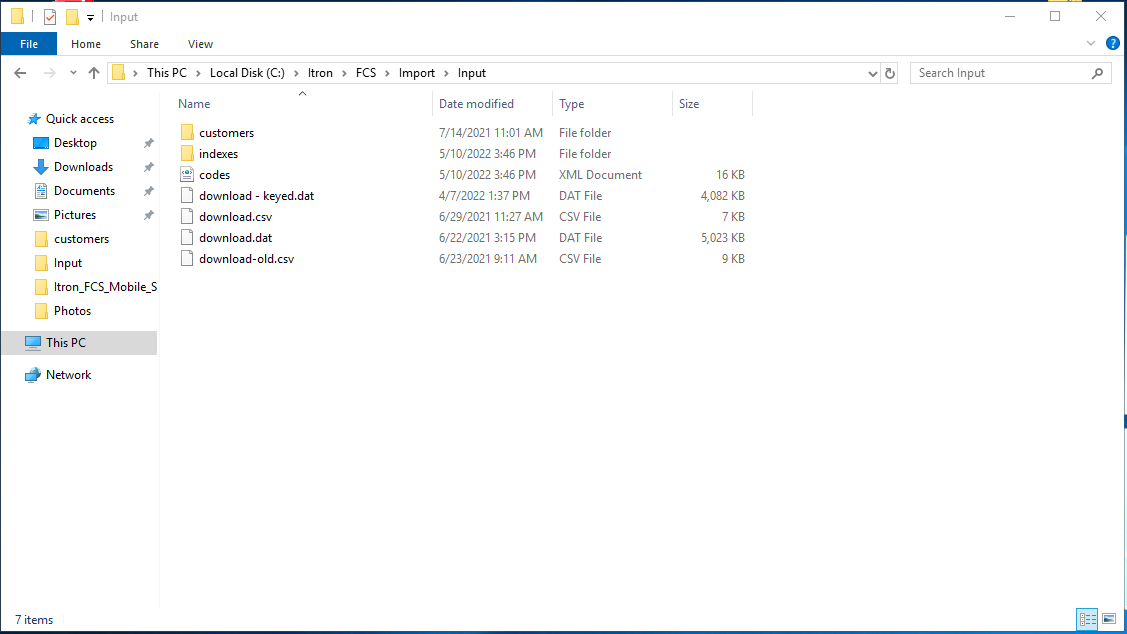
After the billing data export process has been completed, it will need to be placed in the correct location. On a default FCS Express installation the correct location will be “C:\Itron\FCS\Import\Input”. On any other type of FCS install the folder location may vary.
Copy the download.dat billing file to the import folder. If the CIS system has given the file a different name, rename it to download.dat.
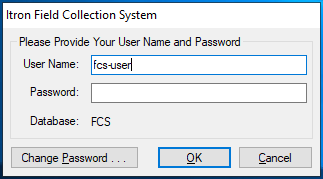
Open FCS and login.
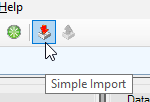
In the FCS Basic Operation Center click on the “simple import” button
The FCS simple import dialog window will open. Verify that the date and time shown in the dialog window matches the date and time that the file was exported. If this doesn’t match, go back to CIS/Billing system and determine what happened.
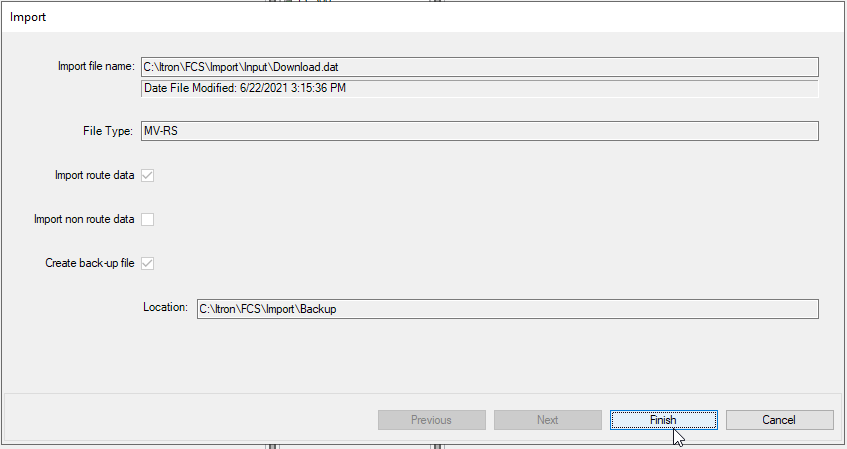
If date and time are correct click on the finish button.
Upon completion of the import, the route(s) from the billing file will be listed on the routes screen.

To assign a route to a handheld, click on the route with the left mouse button and hold it down.
To select multiple routes hold down the CTRL key while clicking on each route to highlight it. To select all routes listed, click on the first route then hold down the shift key. While holding the shift key click on the last route. Release the shift key and then click on one of the selected routes with the left mouse button and hold it down.

While holding the left mouse button drag the route over to the handheld the route will be assigned to.
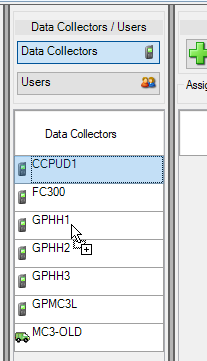
A “+” icon will appear next to the cursor. When this icon appears release the mouse button to assign the route(s) to the selected handheld.

The assigned route(s) will be listed under the assignments window. However, the assignment process is not complete until it has been saved.

Click the save icon to finalize the route assignment(s). A properly assigned route will have a green status icon next to it.

Now that the route(s) have been assigned, they need to be transferred to the handheld. The steps to transfer the routes depends on if the handheld is running Itron Mobile or FCS for Windows CE.

